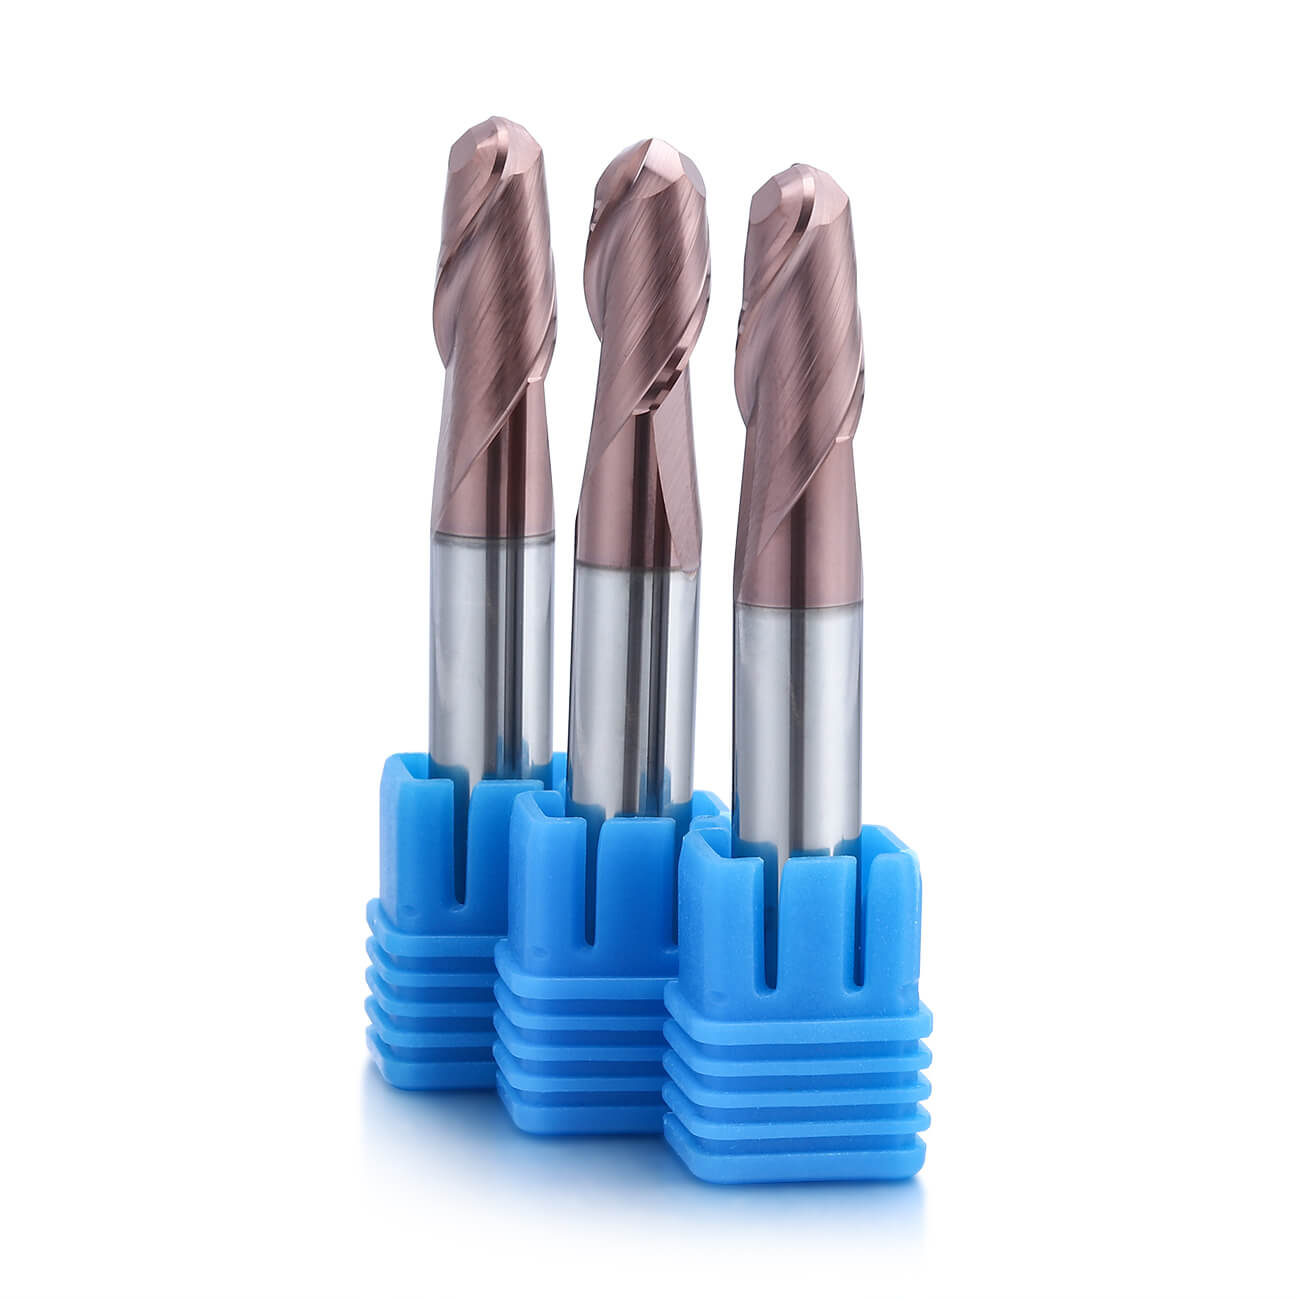
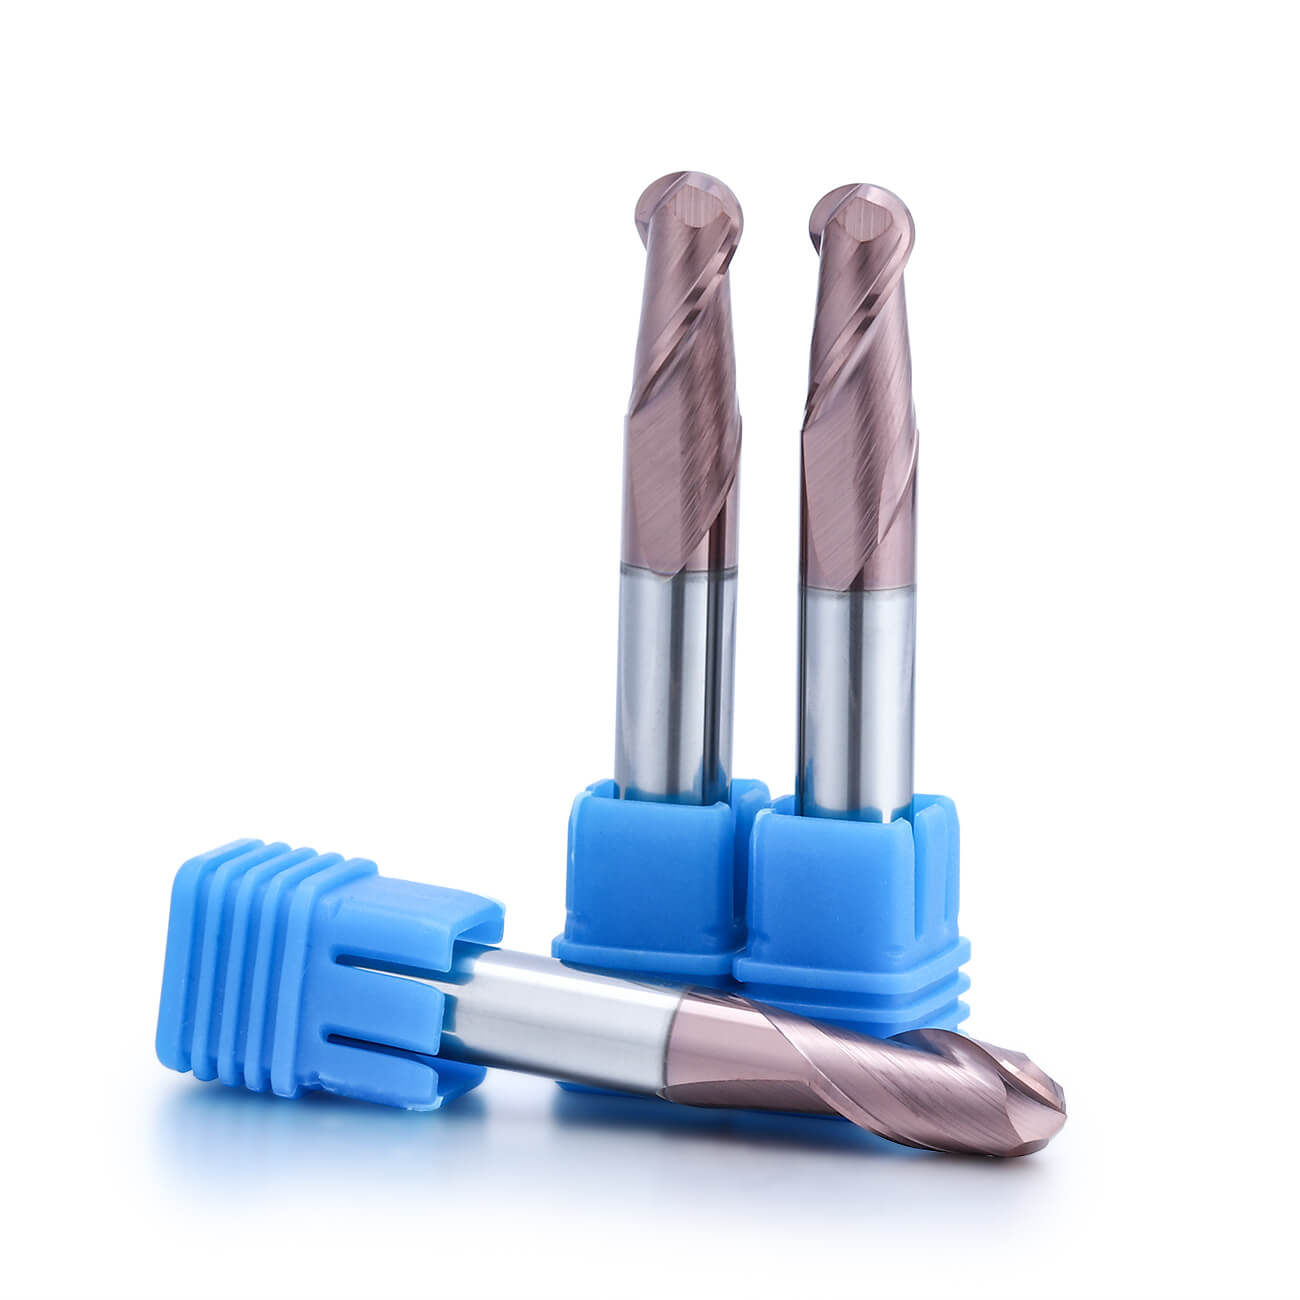
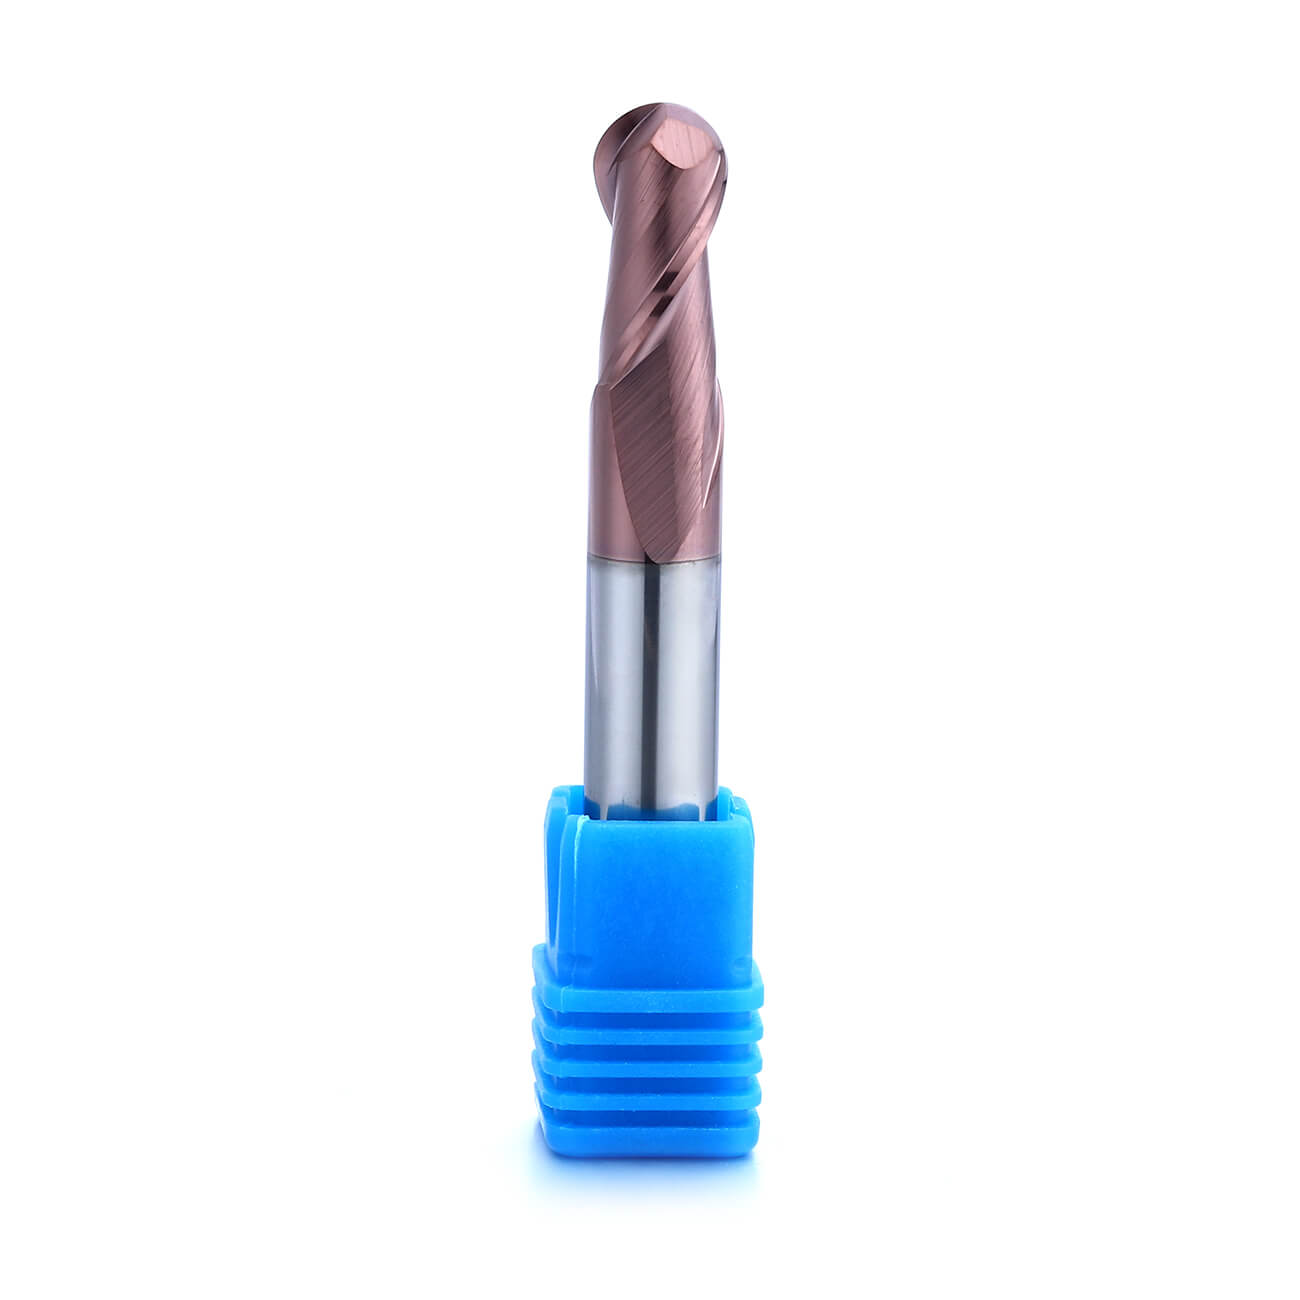
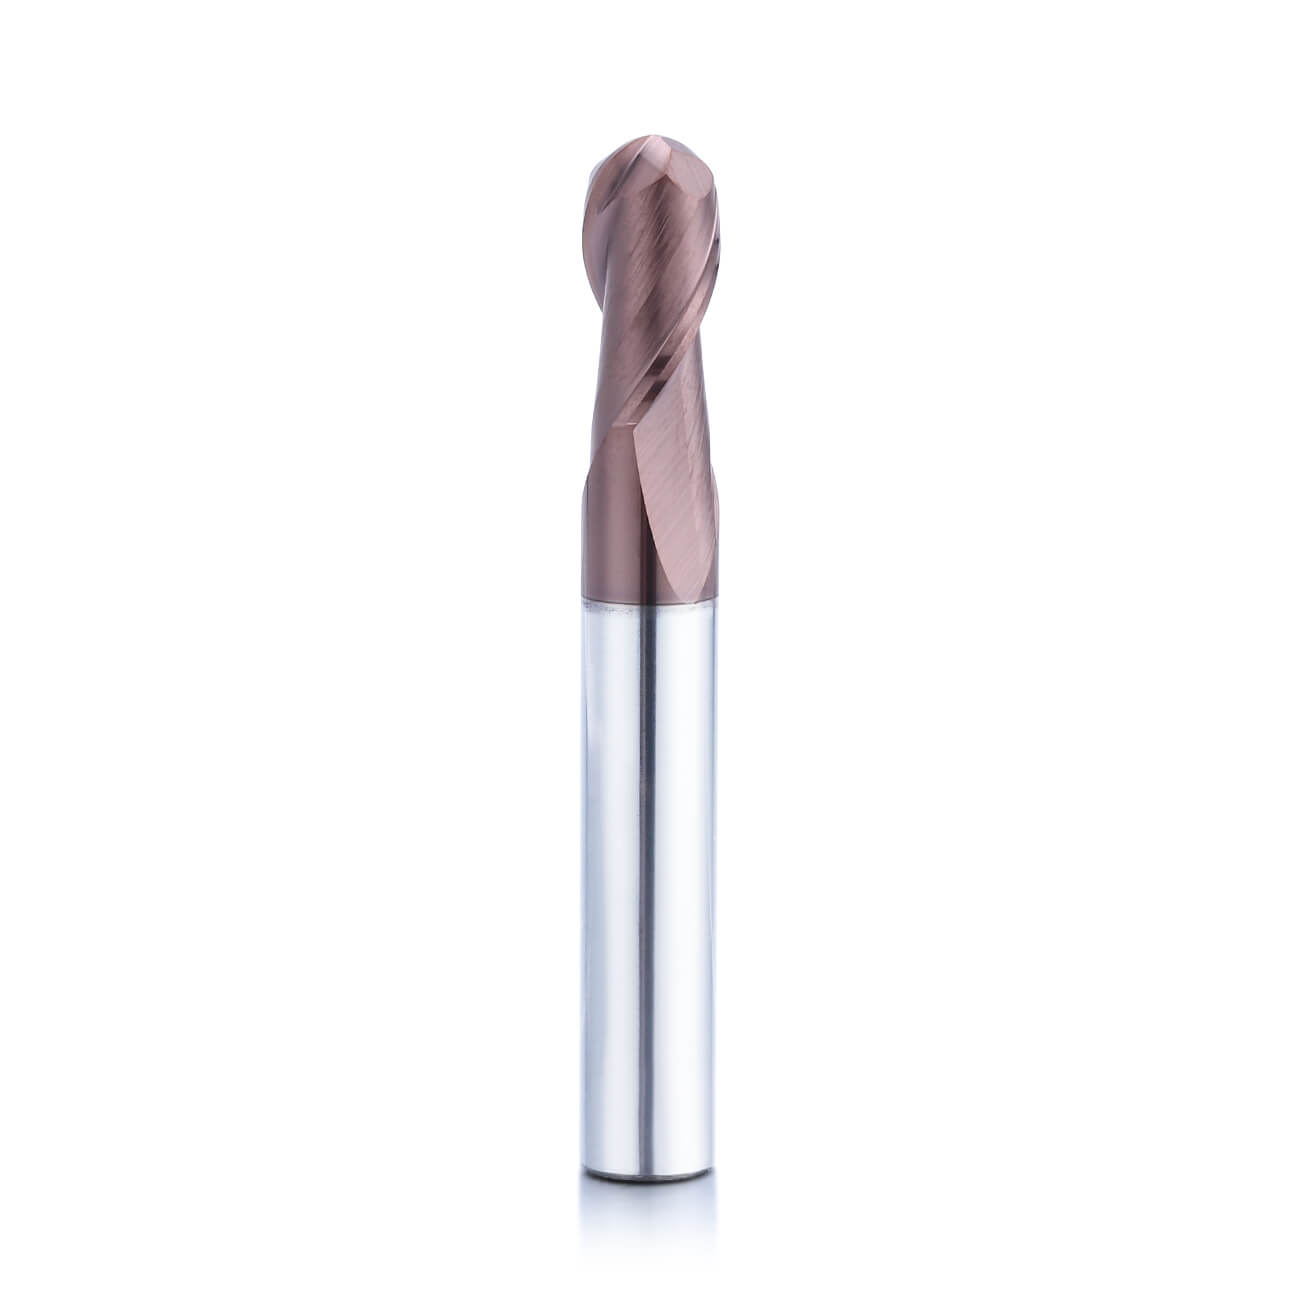
Product Description
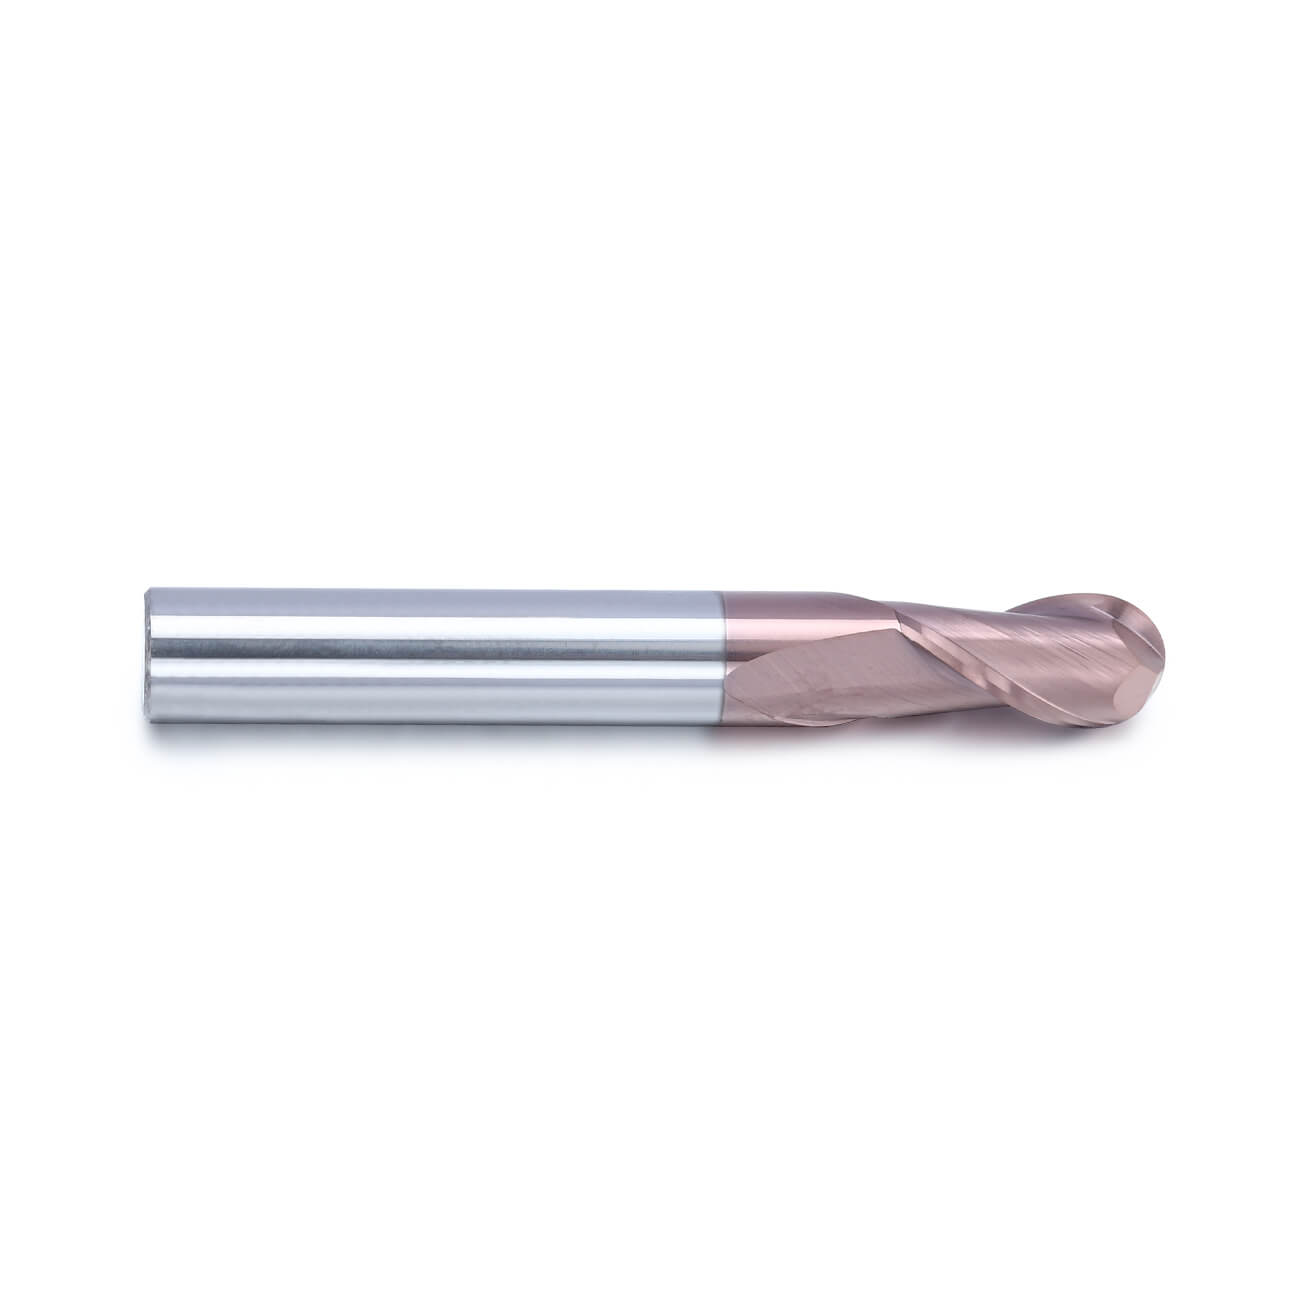
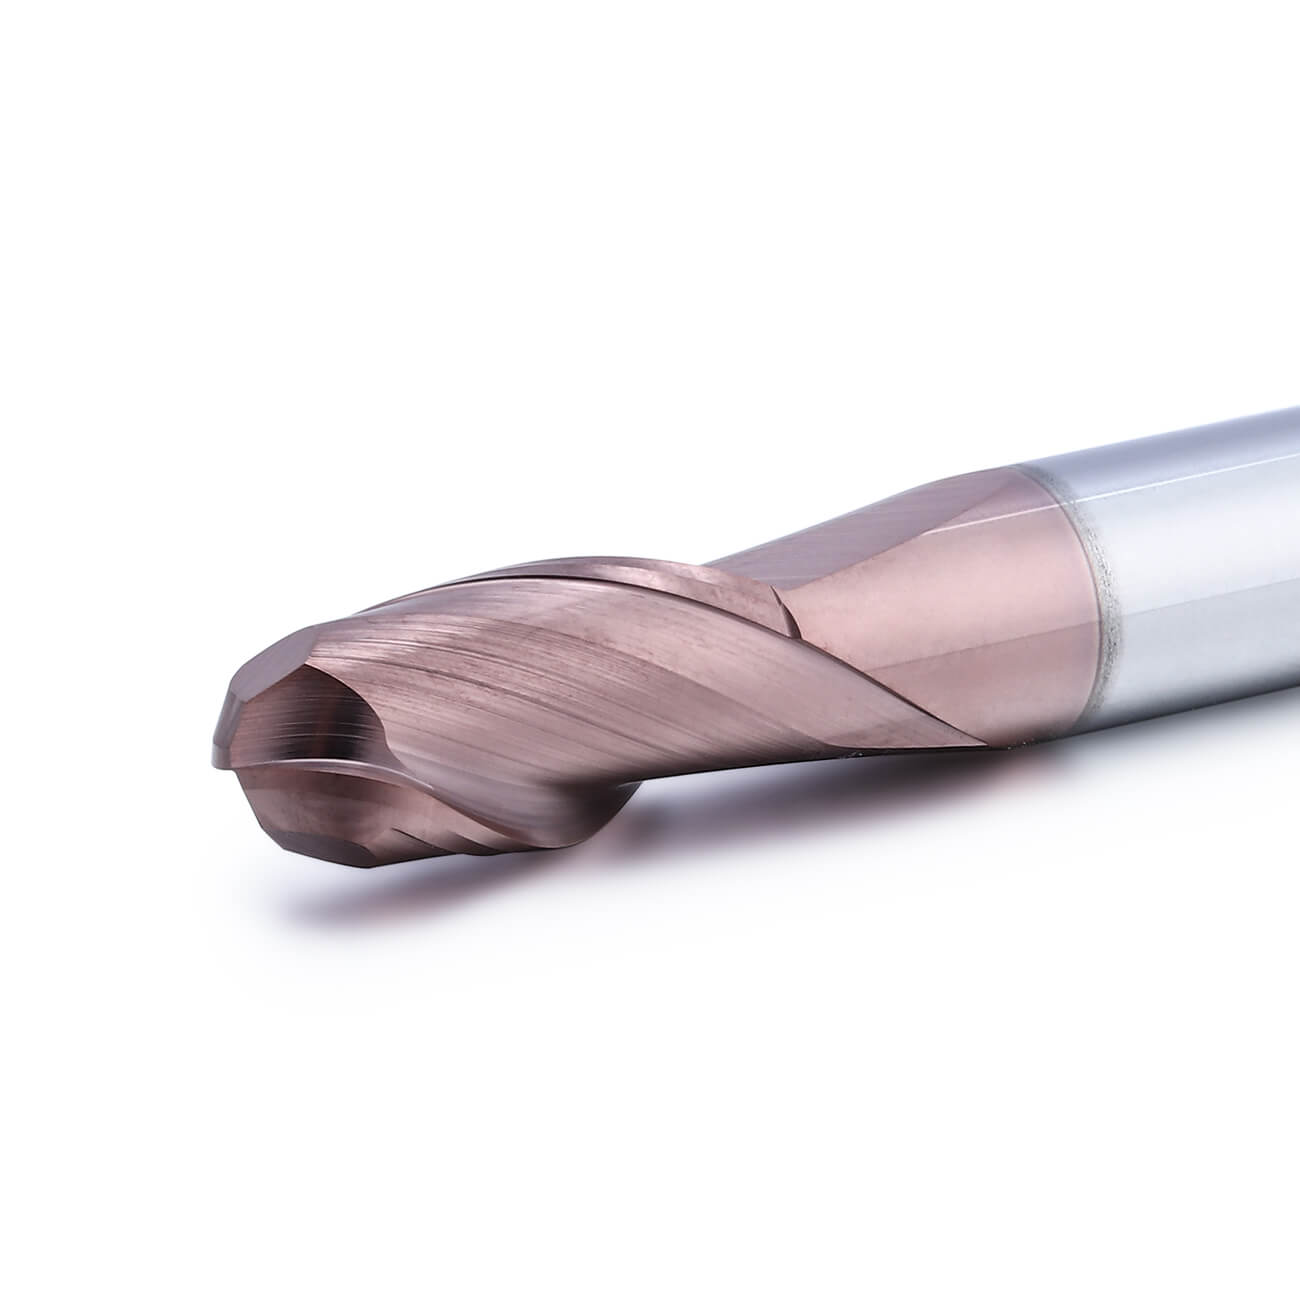
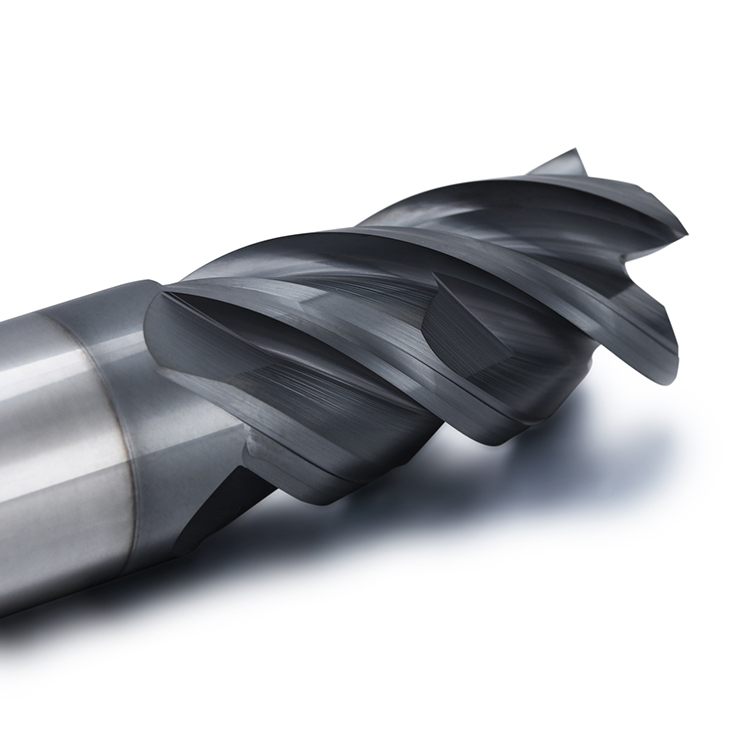
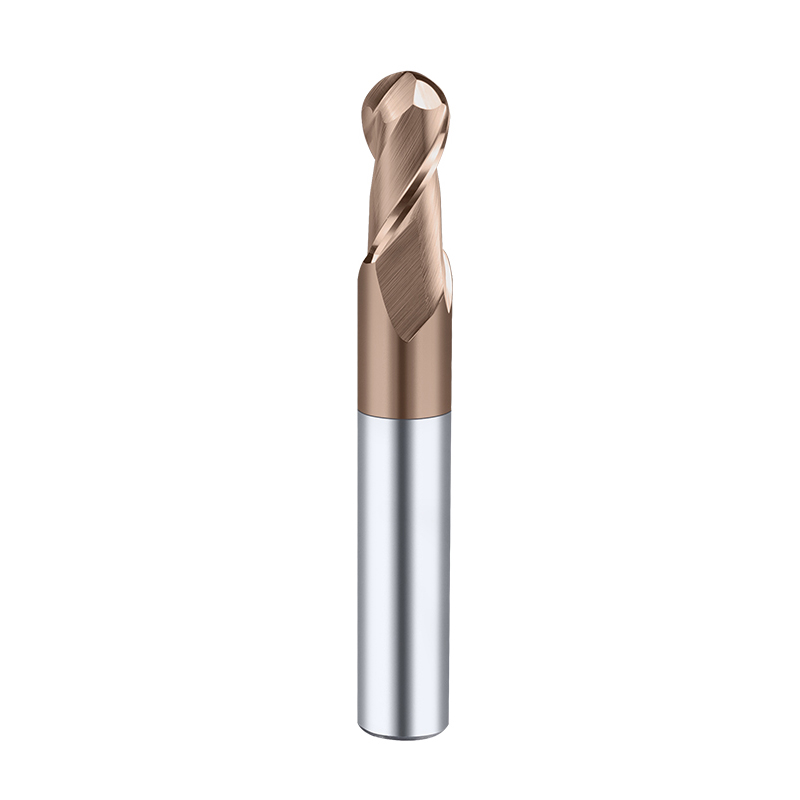
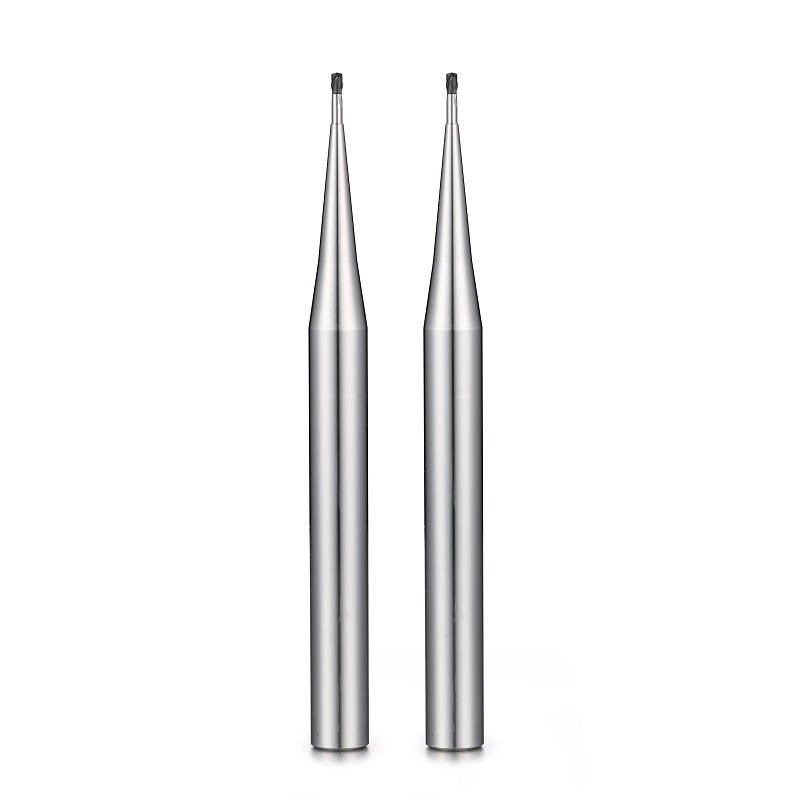
Ball end mill:Surface semi-finishing milling and finishing milling; small ball end milling cutter can finish milling steep / straight wall small chamfer and irregular contour surface

| specification | R | Flute L | Shank | Overall L |
| R0.5X2XD3X50L | R0.5 | 2 | 3 | 50 |
| R1.0X4XD3X50L | R1 | 4 | 3 | 50 |
| R0.50X2XD4X50 | R0.5 | 2 | 4 | 50 |
| R0.50X2XD6X50 | R0.5 | 2 | 6 | 50 |
| R0.75X3XD4X50 | R0.75 | 3 | 4 | 50 |
| R0.75X3XD6X50 | R0.75 | 3 | 6 | 50 |
| R1.00X4XD4X50 | R1 | 4 | 4 | 50 |
| R1.00X4XD6X50 | R1 | 4 | 6 | 50 |
| R1.25X5XD4X50 | R1.25 | 5 | 4 | 50 |
| R1.25X5XD6X50 | R1.25 | 5 | 6 | 50 |
| R1.50X6X3X50 | R1.5 | 6 | 3 | 50 |
| R1.50X6XD4X50 | R1.5 | 6 | 4 | 50 |
| R1.50X6XD6X50 | R1.5 | 6 | 6 | 50 |
| R1.75X7XD4X50 | R1.75 | 7 | 4 | 50 |
| R1.75X7XD6X50 | R1.75 | 7 | 6 | 50 |
| R2.00X8XD4X50 | R2.0 | 8 | 4 | 50 |
| R2.00X8XD6X50 | R2.0 | 8 | 6 | 50 |
| R2.25X9XD6X50 | R2.25 | 9 | 6 | 50 |
| R2.50X10X5X50 | R2.5 | 10 | 5 | 50 |
| R2.50X10X6X50 | R2.5 | 10 | 6 | 50 |
| R2.50X10X6X60 | R2.5 | 10 | 6 | 60 |
| R2.75X11XD6X50 | R2.75 | 11 | 6 | 50 |
| R2.50X10XD6X50 | R2.5 | 10 | 6 | 50 |
| R3.00X12XD6X50 | R3.0 | 12 | 6 | 50 |
| R3.25X13XD8X60 | R3.25 | 13 | 8 | 60 |
| R3.50X14XD8X60 | R3.5 | 14 | 8 | 60 |
| R3.50X14XD7X60 | R3.5 | 14 | 7 | 60 |
| R3.75X15XD8X60 | R3.75 | 15 | 8 | 60 |
| R4.00X16XD8X60 | R4.0 | 16 | 8 | 60 |
| R4.50X18XD10X75 | R4.5 | 18 | 10 | 75 |
| R5.00X20XD10X75 | R5.0 | 20 | 10 | 75 |
| R6.00X24XD12X75 | R6.0 | 24 | 12 | 75 |
| R7.00X40XD14X100 | R7.0 | 40 | 14 | 100 |
| R8.00X40XD16X100 | R8.0 | 40 | 16 | 100 |
| R8.00X30XD16X100 | R8.0 | 30 | 16 | 100 |
| R9.00X40XD18X100 | R9.0 | 40 | 18 | 100 |
| R10.0X40XD20X100 | R10.0 | 40 | 20 | 100 |
| R12.5X40XD25X100 | R12.5.0 | 40 | 25 | 100 |
Detailed Images
1.Feature:
a.Suitable for HRC50-HRC60 Mould and Hardened Parts, finishing processing.
b.Adopt advanced technology and equipment for the AlTiN coating, contains high aluminum, has high temperature and oxidation resistance (800℃), can display the best performance even under dry or high speed conditions process.
c.Sharp cutting and tool strength reasonable collocation, arc rear angle makes the tool more wear-resistant, plane rear angle makes the tool sharper and more powerful,cutting process is lighter, tool life is longer.
2.Design:

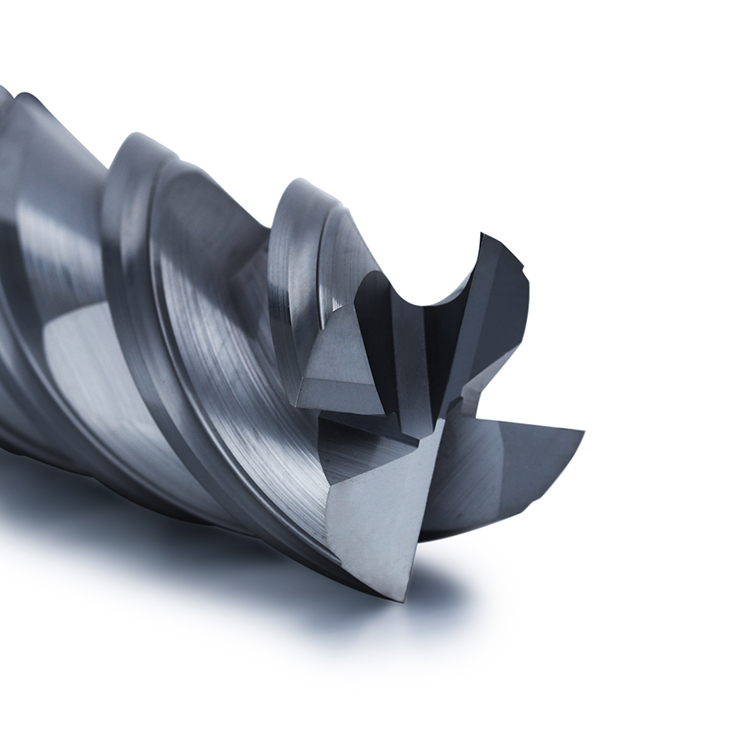
| 1.Double core diameter design ideal.:strong strength for plunge and pocket milling ideal using on stainless steel a.The small core diameter of the front end can ensure the chip removal smooth ,take away the heat of cutting production, and prevent the production of built-up edge b.The big core diameter at the back end ehance the rigidity of cutting tools and improve the surface quality of products
|


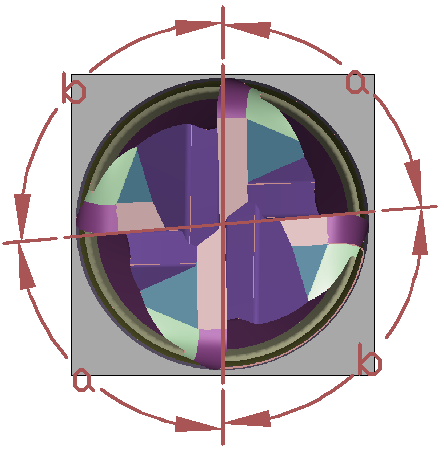
| 2.a≠b Unequal design:prevents vibration and reduces cutting force at slotting. This has led to the high speed and high feed machining |

| 3.Variable helix to prevent vibration Special variable pitch profile reduces cutting force and stress on machine spindle
|
Advantages
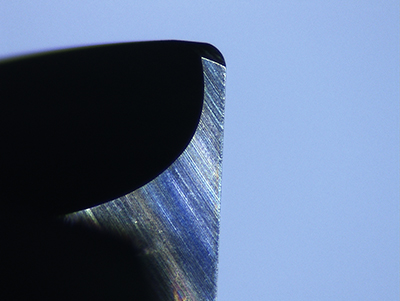
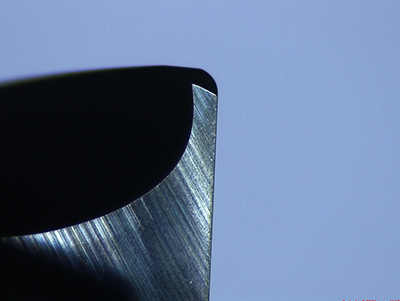
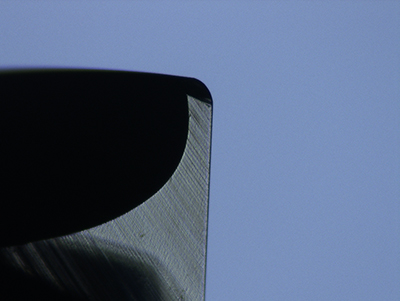
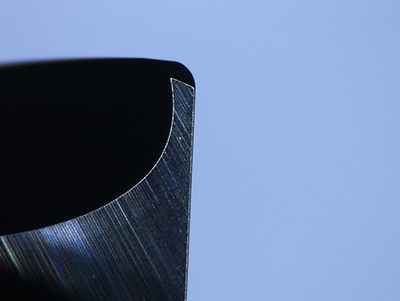
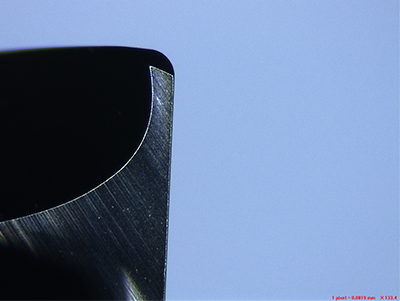
1.passivation technology before coating ,Fine Edge Treatment,its not easy to produce the built-up edge
 |
| Before passivation treament(133 times) |

|  | after passivtion treament with brush(133 times)
|
 |  | After brush passivation treament + sandblasting polishing (133 times) |
2.Four times of cutting tool detection to ensure the quality
| 1) The first piece, the tail piece and the sampling inspection in the production process with Helicheck PlusWalter equipment to full inspection the Circumferential Rake, circumferential edge back Angle, end tooth front Angle, end tooth back Angle, R Angle value and profile, the profile of the forming knife |
(2) after production , full inspection by two dimensions measuring instrument or Microscopic,flute number,outer diameter,flute length ,core diameter,helical angle,width of relief angle,End Tooth Eccentricity and end tooth throught a center,Disc angle of end tooth,Outside run-out and Whether there are notches, jagged
|
(3) before coating Spot check by two dimensions measuring instrument
|
(4)After coating full inspection by two dimensions measuring instrument
|
3.excellent R&D teams and professional technology support teams
Packing&Shipping

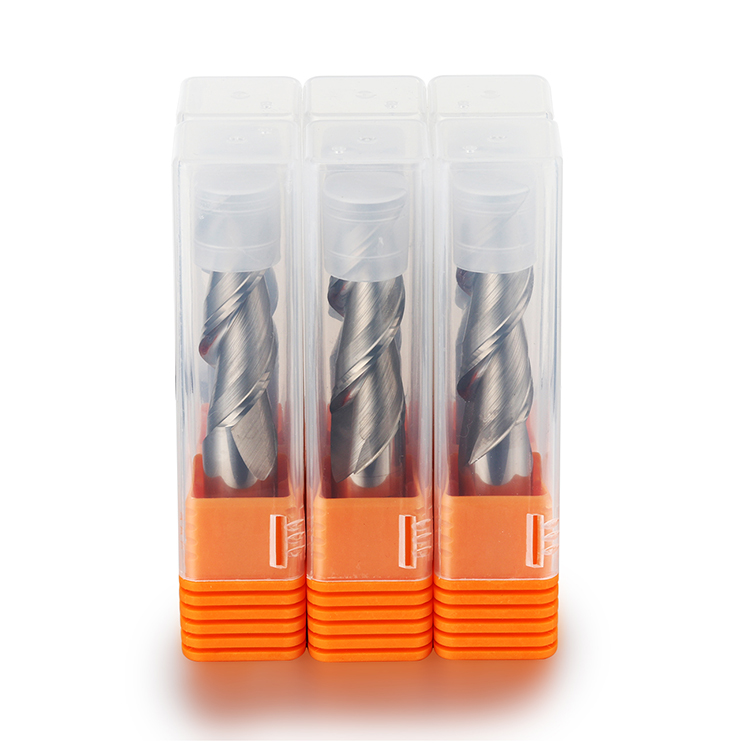
| 1.piece in a plastic pipe ,10pieces per group and air bubble paper in a carton to reduce the shock.
|
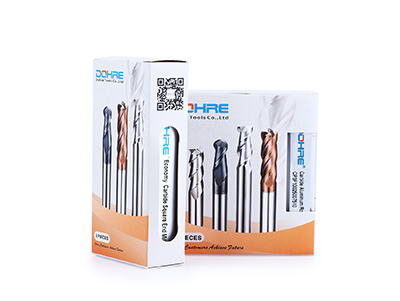
 | 2.Other package requests designed by customer will be accepted. |
FAQ & Contact Us
Q: Are you trading company or manufacturer ?
| A: Yes ,We are factory for more than 10 years in CNC tools. |
| Q: How long is your delivery time? | A: Generally it is 5-10 days if the goods are in stock. or it is 15-20 days if the goods are not in stock, it is according to |
| Q: Do you provide samples ? is it free or extra ? | A: No, we don't provide samples, we we can offer you some discounts depends on your order quantity. |
| Q: What is your terms of payment ? | A: T/T 30% deposit,70% balance against B/L copy or 100% irrevocable LC at sight. More payment terms available(Paypal, Western Union) |
Q: Do you make OEM ?
| A: Yes, we do. OEM is accepted with your brand lase in the products by our laser machine and label of the OEM brand would be stuck on the box before goods shipped out. |
| Q: What the machine do you adopt to produce the products ? | A: We use the walter which imported from Germany. |


